Editor Setup
Typewriting Class is plain TypeScript — autocomplete, go-to-definition, and type checking work out of the box in any editor.
VS Code extension
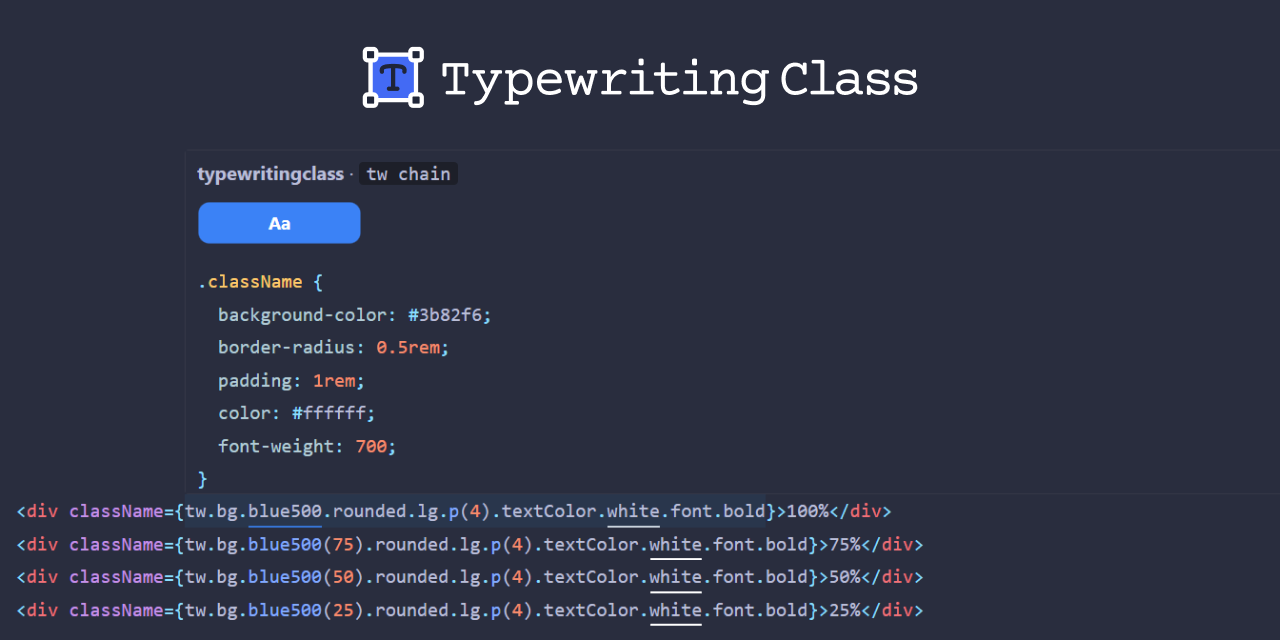
Section titled “VS Code extension”The Typewriting Class extension gives you inline CSS previews and color underlines as you write tw chains.
Features
Section titled “Features”- Per-segment hover — hover over any segment in a
twchain to see its CSS outputtwkeyword shows combined CSS for the entire chain- Tokens like
.blue500or.lgshow resolved CSS with color swatches - Modifiers like
.hoveror.mdshow selector/media query info - Call segments like
.p(4)show CSS declarations
- Color underlines — color tokens get a colored underline matching their resolved color
- Multi-line chains — works across line breaks
when()support — hover overwhen()modifier chains for CSS preview
Install
Section titled “Install”Install from the VS Code Marketplace or from the command line:
code --install-extension corysimmons.typewritingclass-devtoolsSettings
Section titled “Settings”| Setting | Default | Description |
|---|---|---|
typewritingclass.enableHoverPreview | true | Enable/disable CSS preview on hover |
typewritingclass.showPropertyNames | true | Show CSS property names in preview |
typewritingclass.enableColorUnderlines | true | Enable/disable colored underlines on color tokens |
TypeScript configuration
Section titled “TypeScript configuration”Recommended tsconfig.json settings:
{ "compilerOptions": { "strict": true, "moduleResolution": "bundler", "target": "ES2022", "module": "ESNext" }}Use "moduleResolution": "bundler" (TypeScript 5.0+) to correctly resolve typewritingclass/theme/* sub-path exports.
ESLint and Prettier
Section titled “ESLint and Prettier”No special plugins needed. Standard @typescript-eslint rules cover unused imports and type errors. Prettier formats Typewriting Class code with its default settings.